I fell for paper flowers one slow afternoon, playing with scraps and colors until a small bouquet made the kitchen table feel alive. Making something floral from paper became a quiet way to slow down, noticing how textures and light changed a flat sheet into petals and shadow.
These DIY Paper Flower Tutorials grew out of those afternoons, when trial and error felt more like happy tinkering than a project.
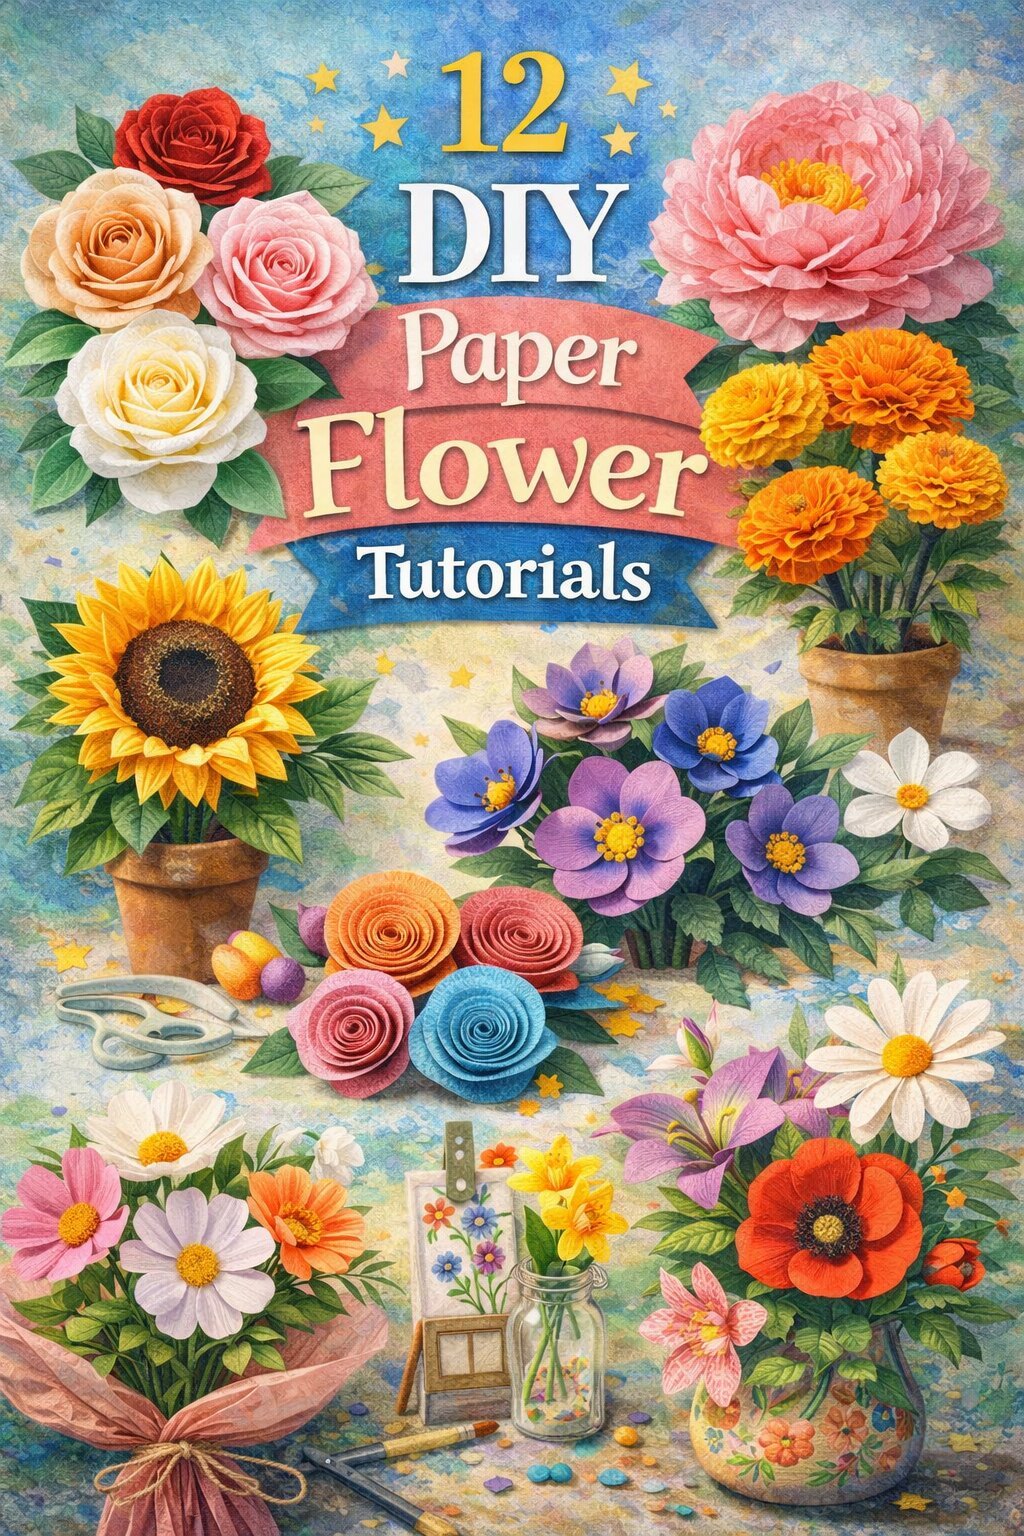
Each approach here is a little story about color, touch, and the tiny surprises that happen when paper meets patience.
Paper roses with layered petal textures

A paper rose I made on a rainy afternoon kept my hands busy and my mind pleasantly wandering. The layers of petals created soft pockets of shadow, and the edges had a delicate, almost velvety look that caught light in interesting ways.
The center held a warmer tone while outer petals leaned toward pale, lending a subtle gradient. The finished bloom had a satisfying weight when held, and the faint rustle of paper as petals brushed each other felt oddly soothing, like a tiny paper hush in the room.
Steps
- Cut several petal shapes from crepe or cardstock in graduated sizes.
- Curl petal edges gently around a dowel or pencil to create natural curvature.
- Stack petals around a small rolled core, securing with a dab of adhesive as the bloom builds.
- Add a sepals ring at the base and trim stem length to desired scale.
Delicate crepe paper peonies in soft tones

I kept a peony on my desk for a week after making one, mostly because its fullness kept catching my eye. The paper offered a crinkled softness that translated into a generous, ruffled bloom.
Colors blended gently, creating hints of shadow between inner folds and outer frills. The center felt tucked and secretive, while the outer layers flared like a skirt.
It paired beautifully with matte green leaves, and when the light hit the crepe it revealed subtle striations that made the flower read almost alive on a quiet morning.
Steps
- Prepare several wide petal strips from crepe paper in coordinating shades.
- Fringe or shape the inner strips for a dense center, then stretch outer strips for a ruffled silhouette.
- Wrap layered strips around a central base, fastening with adhesive at intervals to secure fullness.
- Attach a stem and arrange a few matte leaves for balance.
Quirky origami daisies with crisp edges

Making a handful of origami daisies felt like nostalgic play with a modern twist. The crisp folds produced clean lines and a graphic profile that contrasted nicely with looser paper blooms.
Petals had a neat symmetry that made each flower feel intentionally constructed, and the small central disk offered a punch of color against white or patterned paper. They sat well in a narrow vase, leaning merry and angular.
There was a charm in how precise paper edges met gentle shadows, creating a cheerful cadence across the tabletop.
Steps
- Select square paper sheets in varied colors and place patterned side down if used.
- Fold each square into petal units following traditional floral origami sequences, forming a circular arrangement.
- Secure the petal units around a small central disk with adhesive and reinforce the base.
- Mount the flower on a thin wire stem or tuck into a narrow vase.
Rolled paper ranunculus with vintage feel

A rolled ranunculus started as a spiral of paper and became unexpectedly nostalgic. The concentric coils created a tight, layered center that eased into looser outer rings, and the effect felt like a tiny vintage cameo.
The paper edges sometimes browned slightly where ink or dye pooled, adding a hint of age that I liked. Holding one up to the light revealed filament-like shadows between layers.
It sat prettily against old lace or a wooden crate, where the contrast between delicate bloom and rough textures told a quiet story.
Steps
- Cut a long spiral from cardstock or heavy paper starting from the outer edge inward.
- Tightly roll the spiral from the outer edge toward the center, holding the base secure as the coil forms.
- Fix the base with a small amount of adhesive and slightly loosen outer rings for volume.
- Attach a short wrapped stem or place the bloom into a shallow display.
Textured cardstock succulents that feel real

I was surprised by how paper could evoke the taut, fleshy look of succulents. Cardstock with a slight tooth made tiny ridges and tips that mimicked real leaves, and muted green blends read as almost botanical.
The rosette arrangement looked compact and sculptural on a sunny sill. There was a tactile pleasure in how leaves sat against each other, a matte surface catching light differently across planes.
Paired with a gravel-filled tray or a tiny clay pot, the paper succulents offered a low-key presence that stayed calm and steady.
Steps
- Cut leaf shapes from textured cardstock in graduated sizes to form rosettes.
- Slightly bend or cup each leaf to introduce natural curvature along the center vein.
- Layer leaves around a central point, adhering from smallest to largest for a compact look.
- Sit the finished succulent in a shallow pot with decorative gravel or foam support.
Tissue paper carnations with fluffy centers

Tissue paper carnations brought back memories of party decorations and impromptu crafting sessions. The thin paper created soft ruffles that felt gauzy between fingers, and centers fluffed into pleasing volumes that refracted light in a papery way.
Bright shades popped in a jar, while pastels read as gently nostalgic. The petals held tiny creases and crinkles that added personality, and the overall silhouette was buoyant, like a small puff of color.
I liked how they reacted to a breeze, trembling and soft, making a quiet, playful presence on the table.
Steps
- Stack multiple layers of tissue paper and accordion-fold into a long, even strip.
- Tie a secure knot at the center and carefully separate layers to form a rounded, ruffled head.
- Adjust outer layers to create fullness and hide the tied center with extra tissue if desired.
- Attach a wrapped stem or mount on a short stick for display.
Giant statement peony for dramatic displays

Making an oversized peony felt theatrical in the best way. The large petals created broad planes of shadow and generous highlights, and when gathered into a single bloom it read as a dramatic focal point.
The scale allowed for bold color washes that moved across broad surfaces, and the bloom cast a soft shadow stretching across nearby surfaces. Placed alone in a tall vase, it felt like a small sculpture rather than decoration.
I enjoyed how such a simple material at great scale could shift a room’s mood toward playful elegance.
Steps
- Cut large petal templates from crepe paper or heavyweight paper in a range of sizes.
- Add gentle stretching to mid and outer petals for a cupped, voluminous form.
- Layer and secure petals around a sizeable core, building outward until desired scale is reached.
- Mount the bloom on a sturdy stem and place in a tall support vase.
Mini paper anemones for tiny bouquets

I made a cluster of small anemones as a last-minute accent and loved how they tucked into small spaces. The dark center disks gave a crisp focal point against pale petals, and the compact scale made them feel delicate yet lively.
They added a handcrafted note when mixed with other paper blooms, slipping into narrow bottles or pinned into lapels. The contrast between center and petals read well from a short distance, creating that small-statement effect that feels thoughtful rather than showy.
Steps
- Cut small rounded petals from lightweight paper and prepare dark circular centers from black or deep navy paper.
- Layer petals around the center disk, securing with a spot of adhesive while keeping a natural overlap.
- Add a thin wrapped stem and a tiny green sepal ring if desired for realism.
- Group several mini anemones for a petite bouquet or tuck into narrow vases.
Botanical paper leaves to complement the blooms

Leaves made from weighted paper quietly elevated many of my floral pieces. They brought structure, grounding the blooms with matte greens and organic silhouettes.
Veining drawn lightly across a leaf added an illusion of life, and the way a leaf gently curved made arrangements read more natural. I liked pairing glossy and matte finishes to create subtle visual contrast, and some leaves carried a dusting of color at the tips for a weathered look.
When scattered across a table or clustered around a vase base, the paper foliage lent a calm, botanical rhythm.
Steps
- Trace leaf shapes onto green cardstock or crepe paper and cut out a set in graduated sizes.
- Score or emboss a central vein and add secondary veins with a stylus for gentle texture.
- Slightly curve each leaf along the vein to mimic natural form.
- Attach leaves to stems or tuck them among paper blooms to build composition.