


Throw pillows are one of the simplest yet most powerful ways to transform any living space. Whether you want to refresh your sofa, add comfort to your bed, or bring color into a dull corner, throw pillows can instantly elevate the look and feel of your home. The best part is that you don’t need to spend a lot of money buying expensive designer cushions—you can easily create your own with a little creativity and effort.
In this article, we’ll explore eight different throw pillow tutorials that range from beginner-friendly to slightly advanced. These ideas will help you design unique and stylish pillows that perfectly match your personal taste and home décor.
1. No-Sew Throw Pillow (Perfect for Beginners)
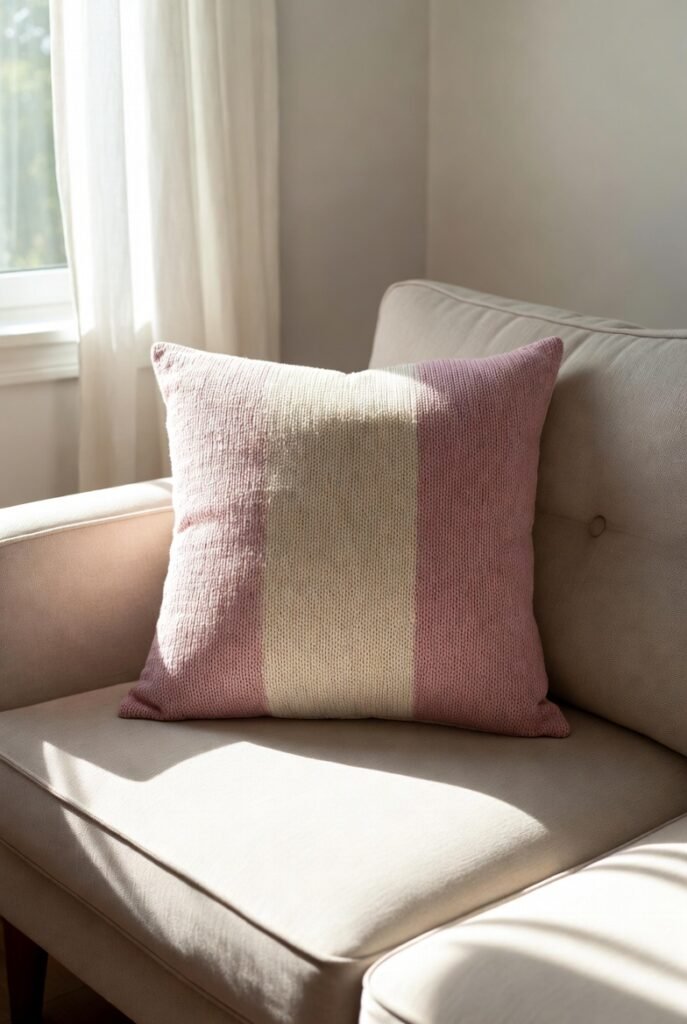
If you are new to DIY projects or don’t have access to a sewing machine, a no-sew pillow is the best place to start. This method is quick, easy, and requires minimal tools.
Materials Needed:
- Fabric of your choice
- Fabric glue or iron-on hemming tape
- Pillow stuffing or an old pillow insert
- Scissors
Steps:
- Cut two equal-sized pieces of fabric in your desired shape (square or rectangle).
- Place the fabric pieces together with the inner sides facing each other.
- Use fabric glue or hemming tape to seal three sides.
- Turn the fabric inside out so the clean side is visible.
- Insert the pillow stuffing.
- Seal the final edge carefully.
This method is ideal for quick home updates and works well for beginners who want instant results.
2. Envelope Closure Pillow (Easy and Practical)
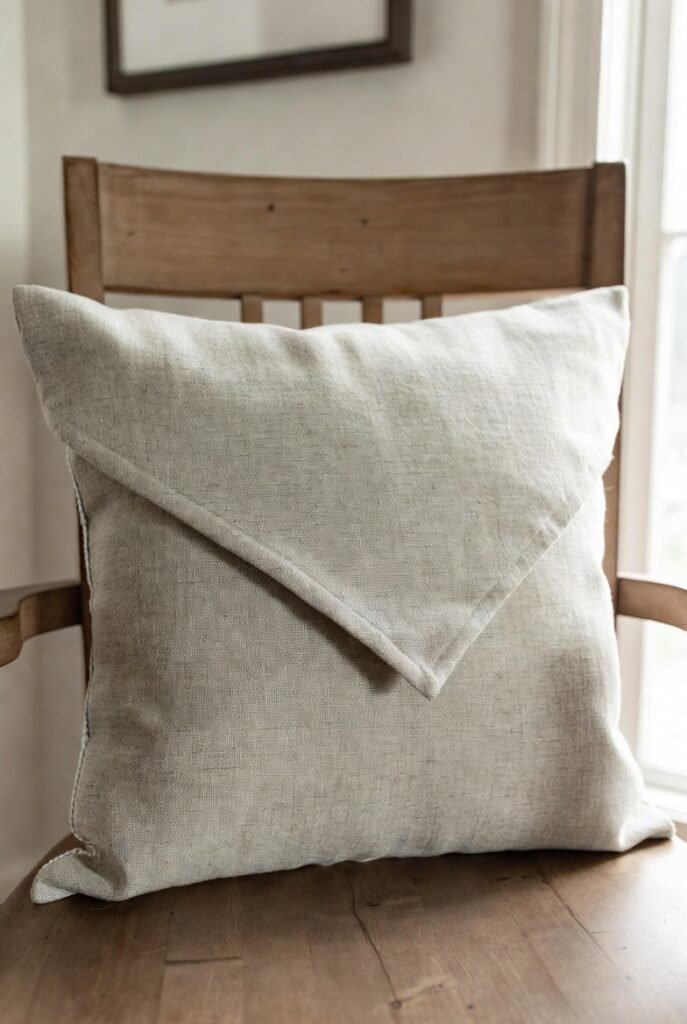
Envelope pillows are extremely popular because they allow you to remove the cover easily for washing or replacement.
Materials Needed:
- Fabric
- Sewing machine or needle and thread
- Pillow insert
Steps:
- Cut one large piece for the front and two smaller overlapping pieces for the back.
- Hem the inner edges of the back pieces.
- Place all pieces together, right sides facing inward.
- Sew around the edges.
- Turn the cover inside out and insert your pillow.
This design is both stylish and functional, making it perfect for everyday use.
3. Buttoned (Tufted) Throw Pillow
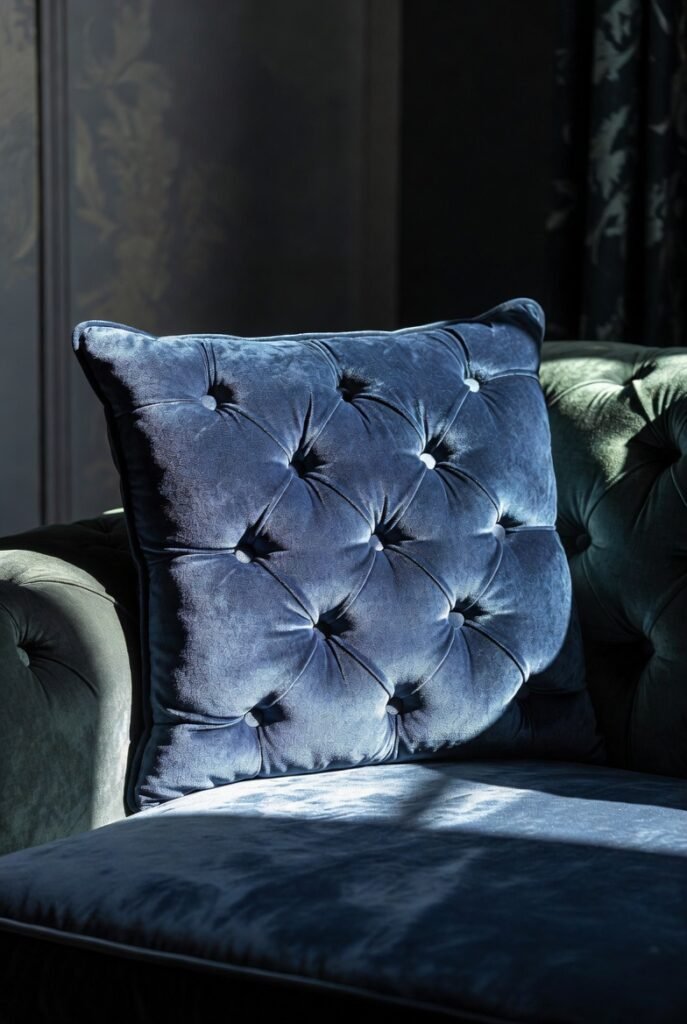
If you want a more elegant and classic look, try adding buttons to create a tufted effect. This style is often seen in luxury home décor.
Materials Needed:
- Fabric
- Buttons
- Needle and strong thread
- Pillow stuffing
Steps:
- Create a basic pillow cover.
- Mark the center or multiple points where you want the buttons.
- Sew the buttons through both sides of the pillow tightly.
- Pull the thread to create a slight indentation (tufted look).
This pillow style adds depth and texture, making it a beautiful accent piece.
4. Patchwork Pillow (Creative and Eco-Friendly)
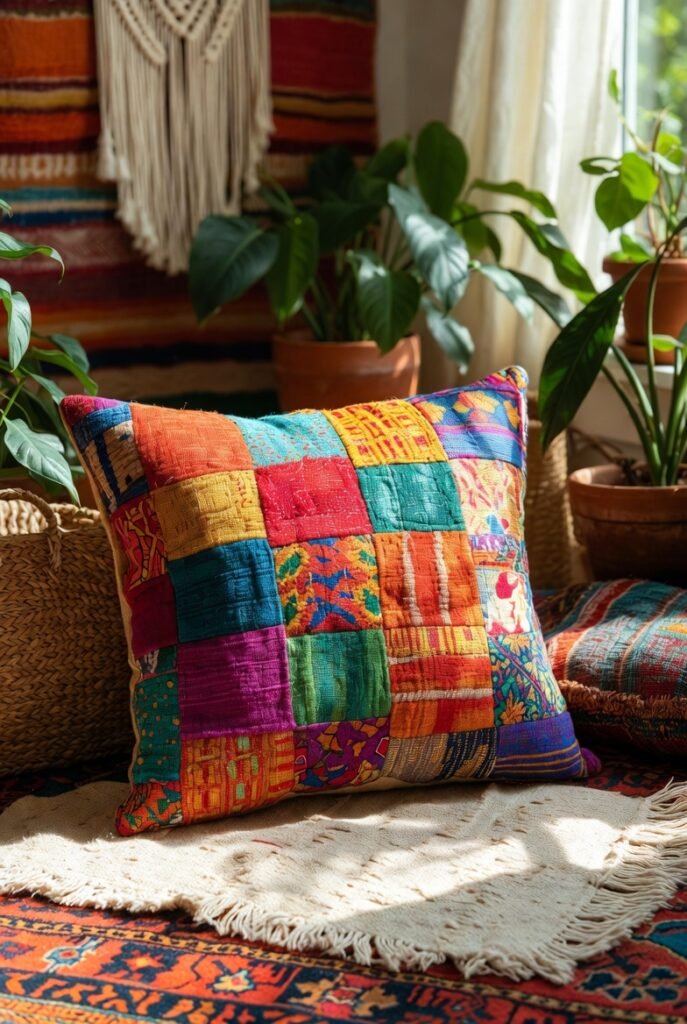
Patchwork pillows are perfect for using leftover fabric scraps. They are colorful, unique, and environmentally friendly.
Materials Needed:
- Fabric scraps
- Sewing machine
- Thread
Steps:
- Cut fabric into equal-sized squares.
- Arrange them in a pattern you like.
- Sew the pieces together row by row.
- Attach a backing fabric to complete the pillow.
Each patchwork pillow tells its own story and adds a cozy, handmade charm to your home.
5. Painted Throw Pillow (Custom Artistic Design)
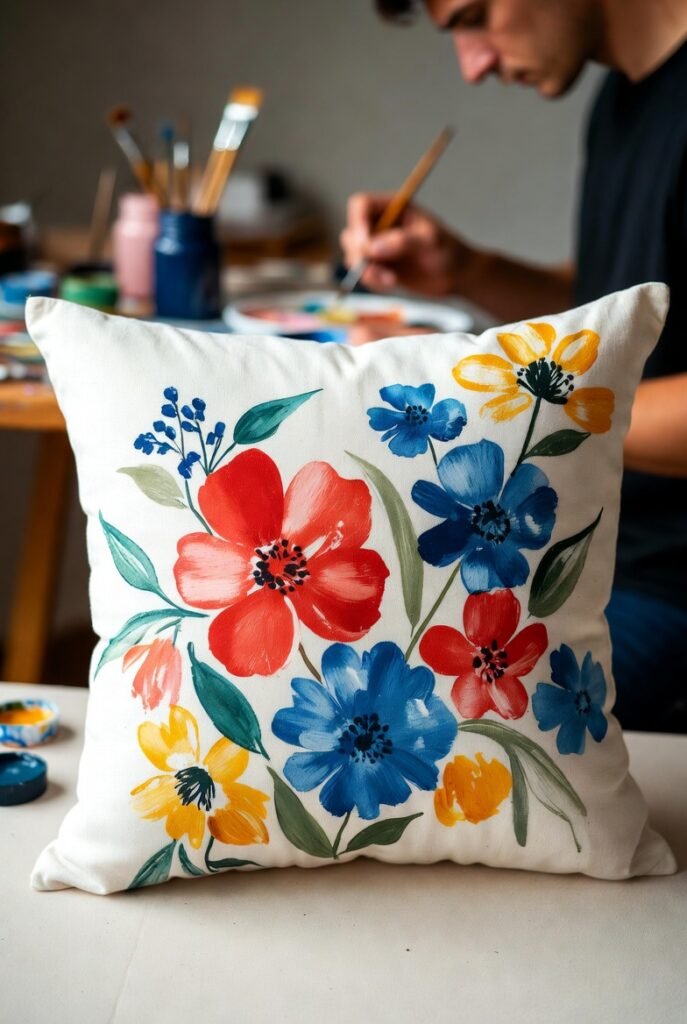
If you love art, this tutorial allows you to turn your pillow into a canvas.
Materials Needed:
- Plain fabric pillow cover
- Fabric paints
- Paintbrushes or stencils
Steps:
- Lay your pillow cover flat.
- Sketch your design lightly (optional).
- Paint your design using fabric paint.
- Let it dry completely before use.
You can create abstract art, floral patterns, or even personalized messages.
6. Pom-Pom Trim Pillow (Fun and Playful)
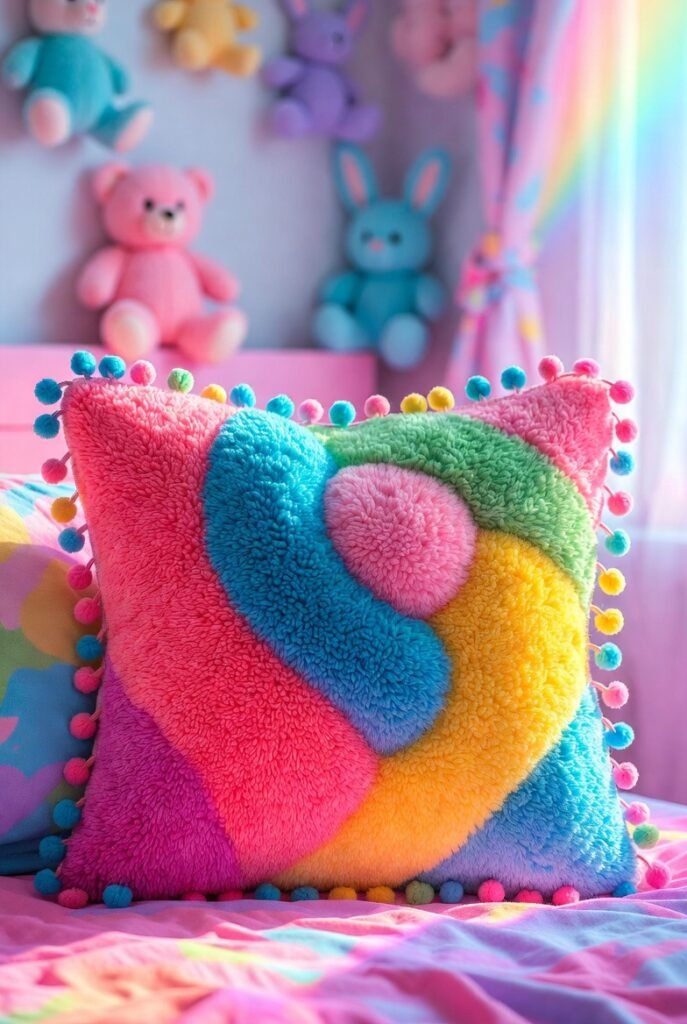
Pom-pom pillows add a playful and cheerful vibe to any room, especially kids’ spaces.
Materials Needed:
- Fabric
- Pom-pom trim
- Needle and thread or sewing machine
Steps:
- Attach pom-pom trim along the edges of one fabric piece.
- Place the second piece on top and sew around.
- Turn inside out and insert stuffing.
This design is simple yet eye-catching.
7. Ruffled Throw Pillow (Soft and Elegant)
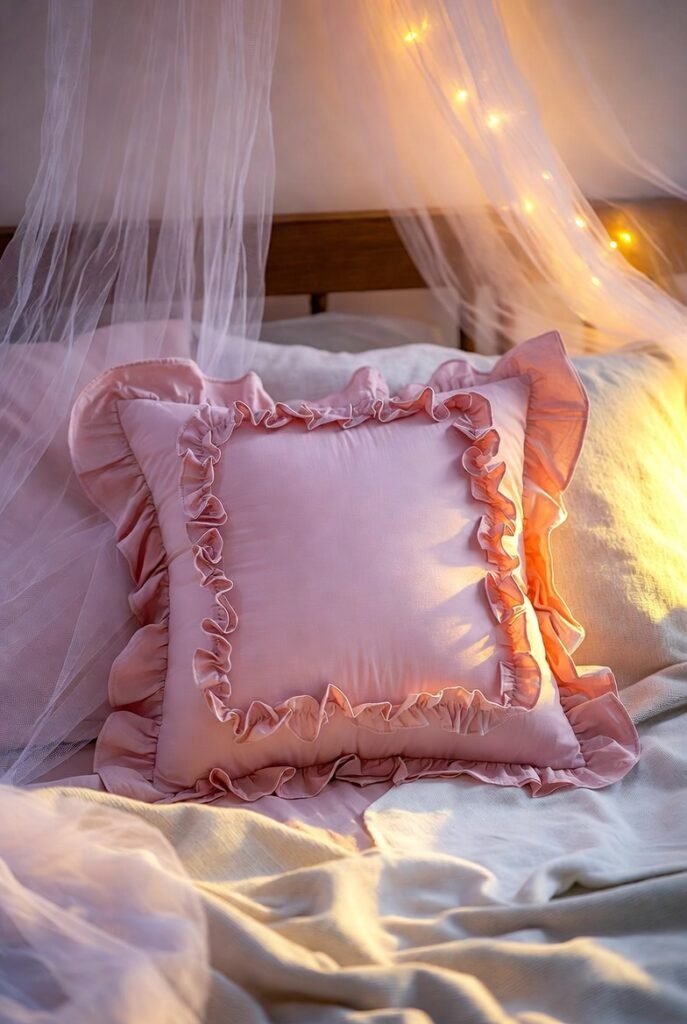
Ruffles bring softness and elegance to your décor, making them ideal for bedrooms or cozy corners.
Materials Needed:
- Fabric
- Sewing machine
- Thread
Steps:
- Create long strips of fabric and sew them into ruffles.
- Attach the ruffles to the front panel in rows or along the edges.
- Sew the pillow cover together.
This style works beautifully with soft, pastel-colored fabrics.
8. Zippered Throw Pillow Cover (Professional Finish)
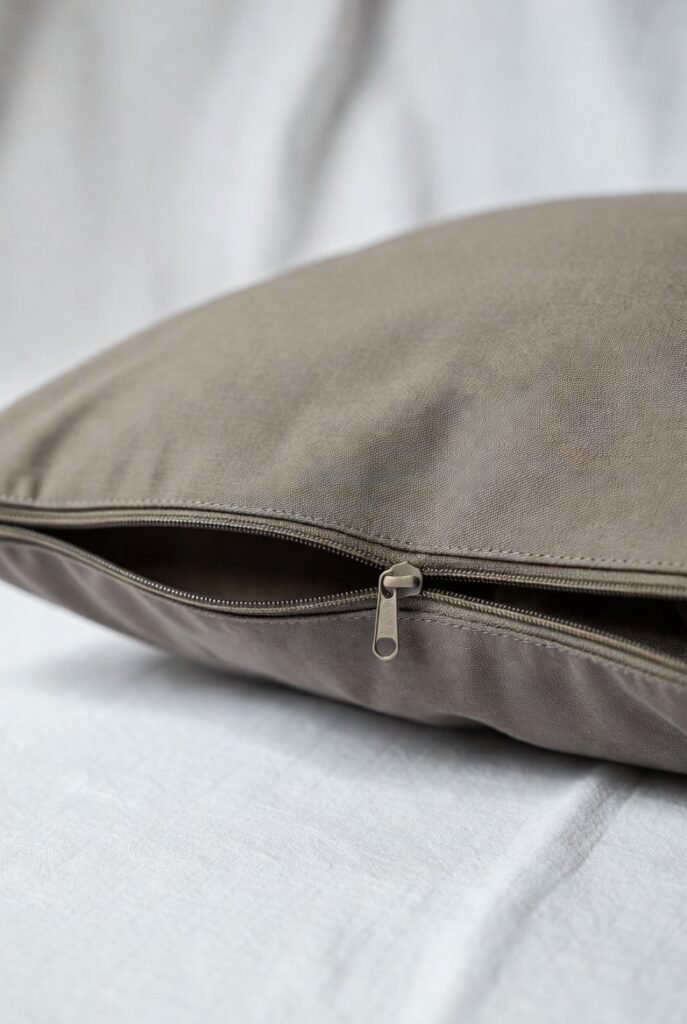
For a clean and modern look, a zippered pillow cover is the best option. It also makes cleaning very easy.
Materials Needed:
- Fabric
- Zipper
- Sewing machine
Steps:
- Sew the zipper onto one edge of the fabric.
- Attach the remaining sides.
- Turn inside out and insert the pillow.
Though slightly more advanced, this method gives a polished, store-bought appearance.
Tips for Designing Your Own Throw Pillows
- Choose the Right Fabric: Cotton is easy to work with, while velvet or linen adds luxury.
- Mix and Match: Combine different textures and colors for a layered look.
- Consider Size: Standard sizes work well, but oversized pillows can make a bold statement.
- Experiment Freely: Don’t be afraid to try new patterns, trims, or embellishments.
Final Thoughts
Making your own throw pillows is not only cost-effective but also incredibly rewarding. It allows you to express your creativity while designing pieces that perfectly match your home. Whether you prefer simple no-sew designs or more detailed styles like tufted or zippered covers, these tutorials offer something for everyone.
With a little time and imagination, you can turn ordinary fabric into stunning decorative pieces that make your home feel warm, stylish, and uniquely yours.